Happy Tuesday! And it really is a happy Tuesday because it’s double punch Tuesday at my local growler place! 🙂
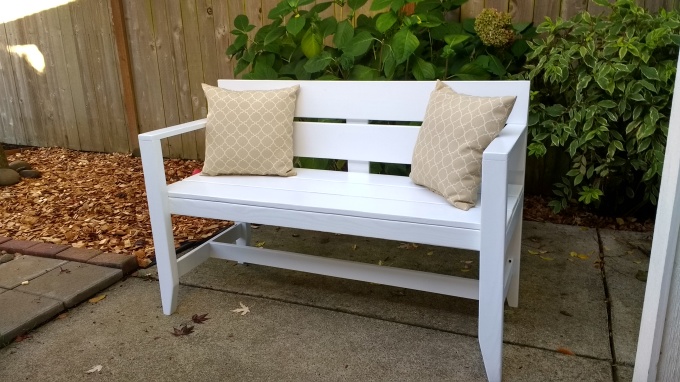
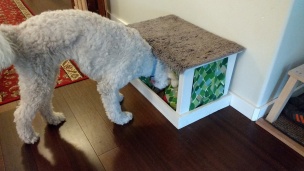
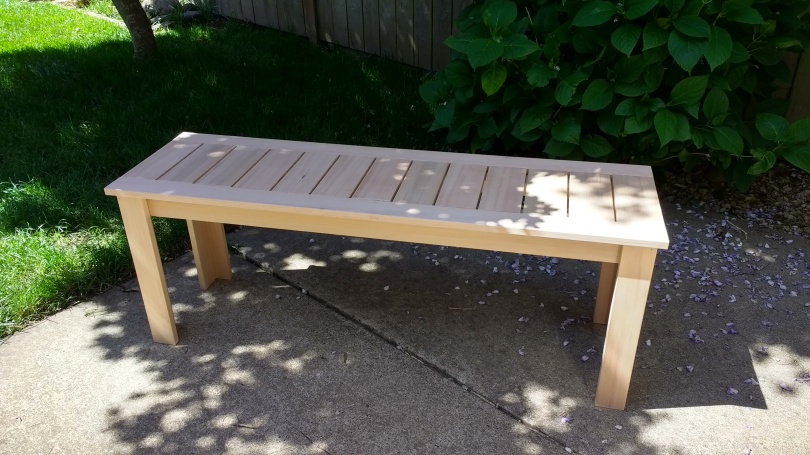
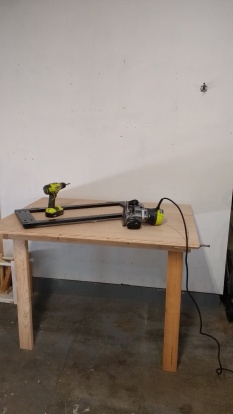
This is the 4th time I’ve made this type of bench. The first one is our swinging bench, which I love! The second one was made as a regular bench, so I added legs. The 3rd one I decided to make a little smaller and not so chunky using not 2×4’s and 1×4’s but 2×3’s and 1×3’s. I usually change it every time and haven’t really written this information down, so now I’m having to reinvent the wheel! I’m going to record and type up all the measurements so my 5th bench should go together rather quickly. You can see these benches in my photo gallery.
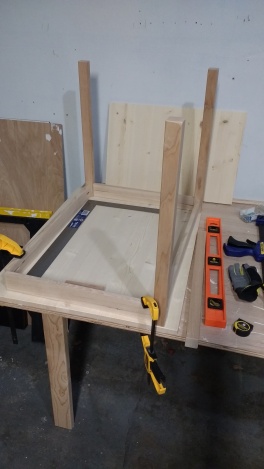
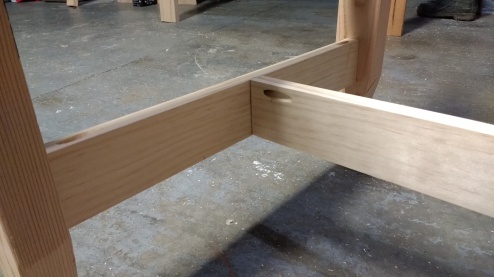
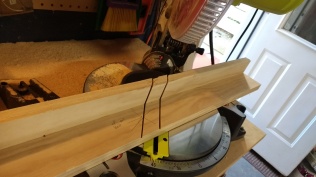
Mitered corners. I started doing this on my 3rd bench. Much nicer not having the rough edge. However, mitered corners are hard! I forgot that I had made a sacrificial fence, after doing some research on how to do better mitered cuts. This does help but they still weren’t perfect. But that’s the thing, they are hard to get perfect. The picture below shows the fence I made attached to my miter saw. (There are two cuts but I messed up on one so I made another one.)

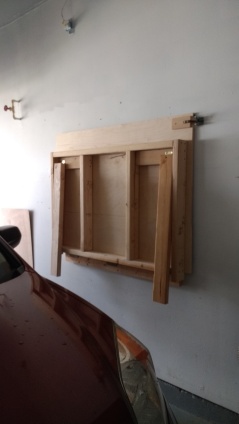
Pocket Holes. I have a love/hate relationship with pocket holes. I love the idea of them because they hide the screws but every time I do them, I have trouble. Today I used them to attach the two inside 2×3’s on the bench seat. It worked pretty well. I really need to go check out Saws on Skates because I know Scott has some great information on pocket holes!
Tomorrow, I’ll work on the bench seat, back rest and arm rests and that’s it! Actually, no, I’ll have to do a lot of sanding, arrggghh, I do not like sanding! That’s the problem with using this type of wood, there’s a lot of sanding involved. 😦
More tomorrow! See you then, Michele